
We recently had a customer send us his story on how he went about installing his new shed roof supplied by Cladco Profiles. We thought this information was very useful for anyone considering a new shed roof so decided to share.
I recently embarked on replacing my small apex shed roof using Cladco Profiles 34/1000 Box Profile sheeting. Firstly, I had to confirm the quantity of sheets I would require and the length these would need to be. Cladco Profiles would be cutting these to size on my behalf so I needed to ensure this was as accurate as possible.
Measuring along the ridge line was the first thing I did, this measured 5.8 metres and as each roofing sheet used would cover 1 metre in width when lapped I knew I would require 12 sheets (Six either side, lapping the final sheet over an additional rib to rid the excess).
I then measured from the ridge (the highest point of the roof) down to the eave (gutter line) to confirm the length I needed the sheets to be, I included an additional 50mm to allow my sheeting to overhang into the guttering taking the overall dimension to 3050mm.
With the sheet sizes and quantities confirmed my next step was to confirm whether I required any flashings. A ridge flashing which would sit along the middle of the apex to cap this off was advised, these are 200mm x 200mm in width, 130º internally and come in 3 metre lengths so I ordered two of these.
I then ordered 4 x barge flashings, these are 90º angles which cap off the side edges of the roof, these are in 3 metre lengths and again are 200mm x 200mm (though these like the ridge">ridge capping’ can be custom made to varying widths should I have needed).
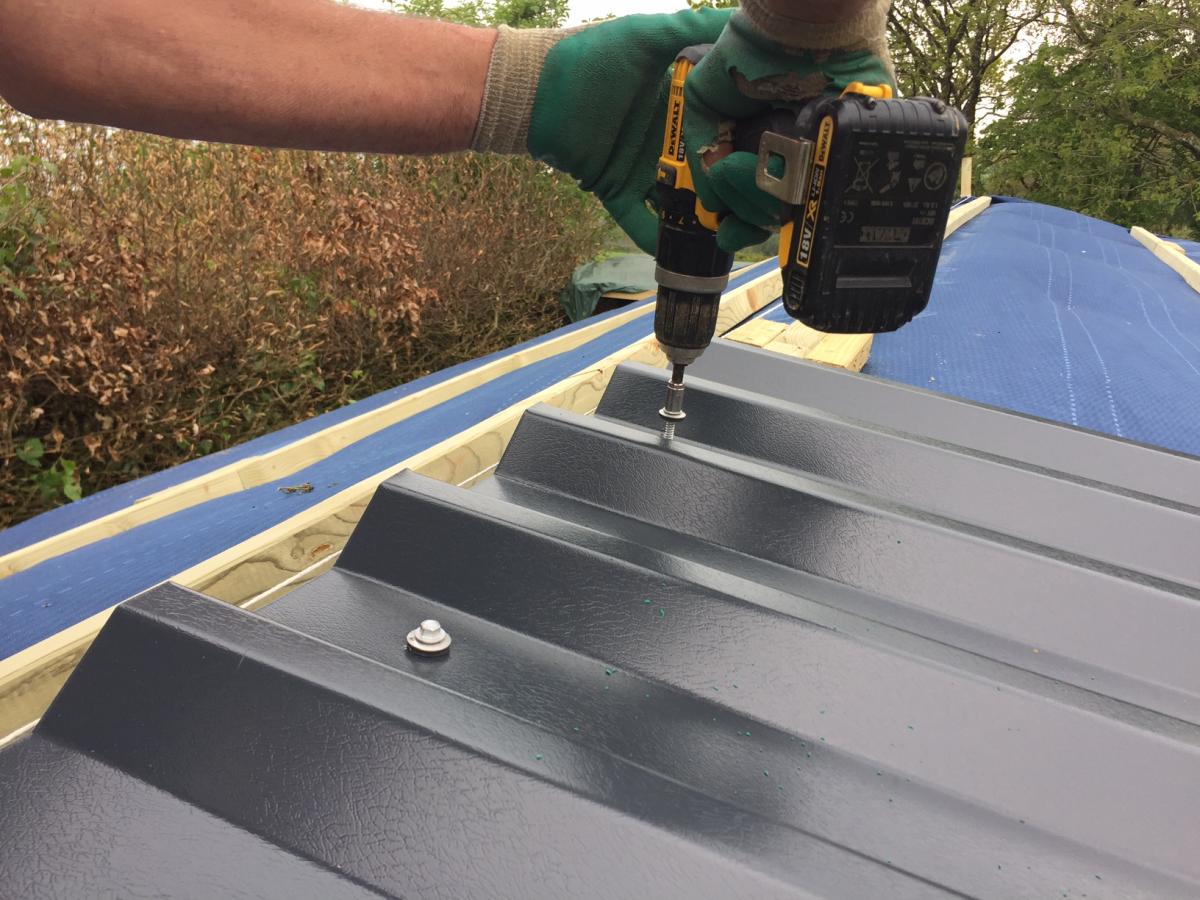
As I had laid timber purlins across my roof frame at spacings of 1000mm I required wood fixings. Cladco very helpfully supplied TEK screws in various lengths, these are self-tapping fixings meaning I needed only to place these into the drill socket (a 5/16 socket) before fixing these directly through the sheeting and into the timber, no pre-drilling required! These were 32mm in length.
I also ordered a pack of small 22mm stitcher screws for the flashings (to fix these to the roof sheets) and colour caps to suit the Anthracite sheets I had chosen. I was also advised to use foam fillers, these are pieces of polyethylene foam which sit between the ridge cap and the sheet. These would also be required at the bottom of the sheeting. These aim to stop water from being blown back underneath the capping, or any adventurous insects!
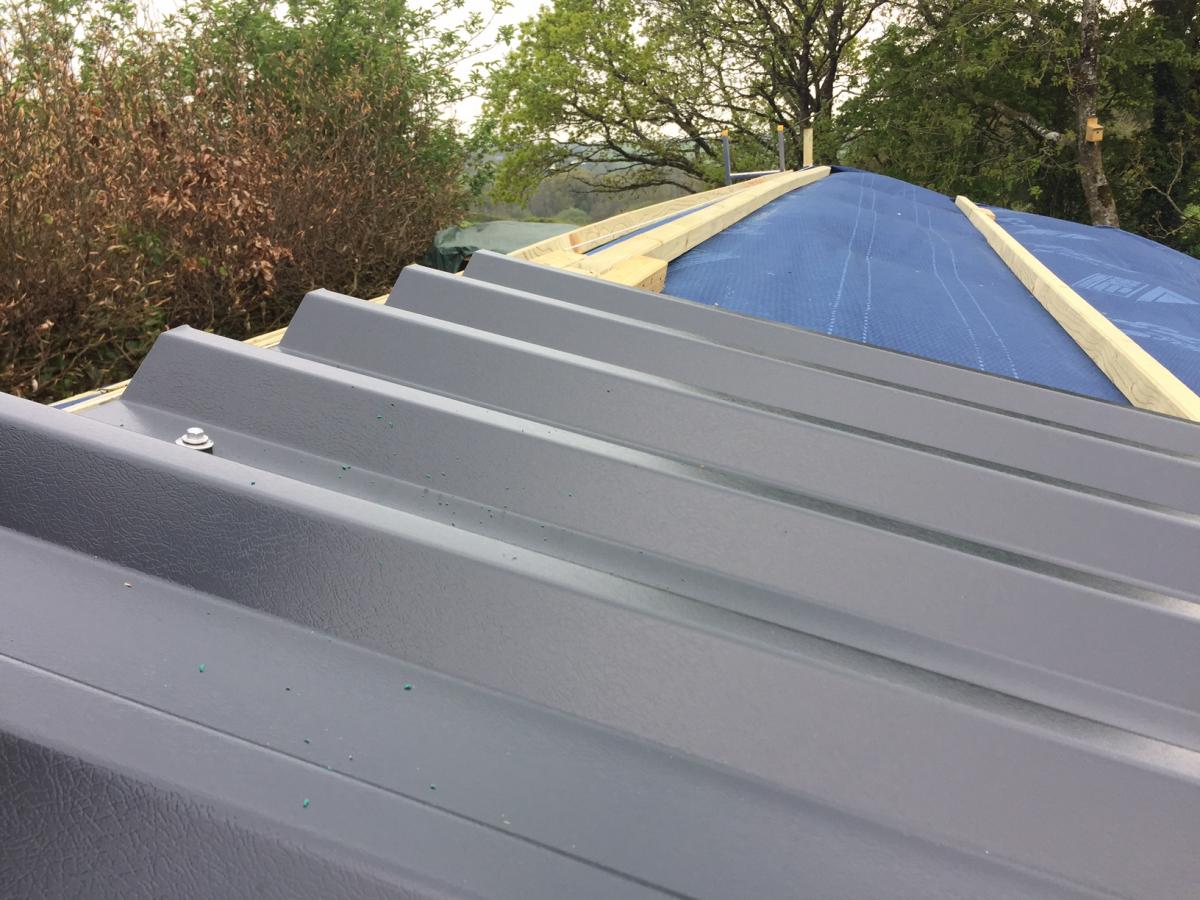
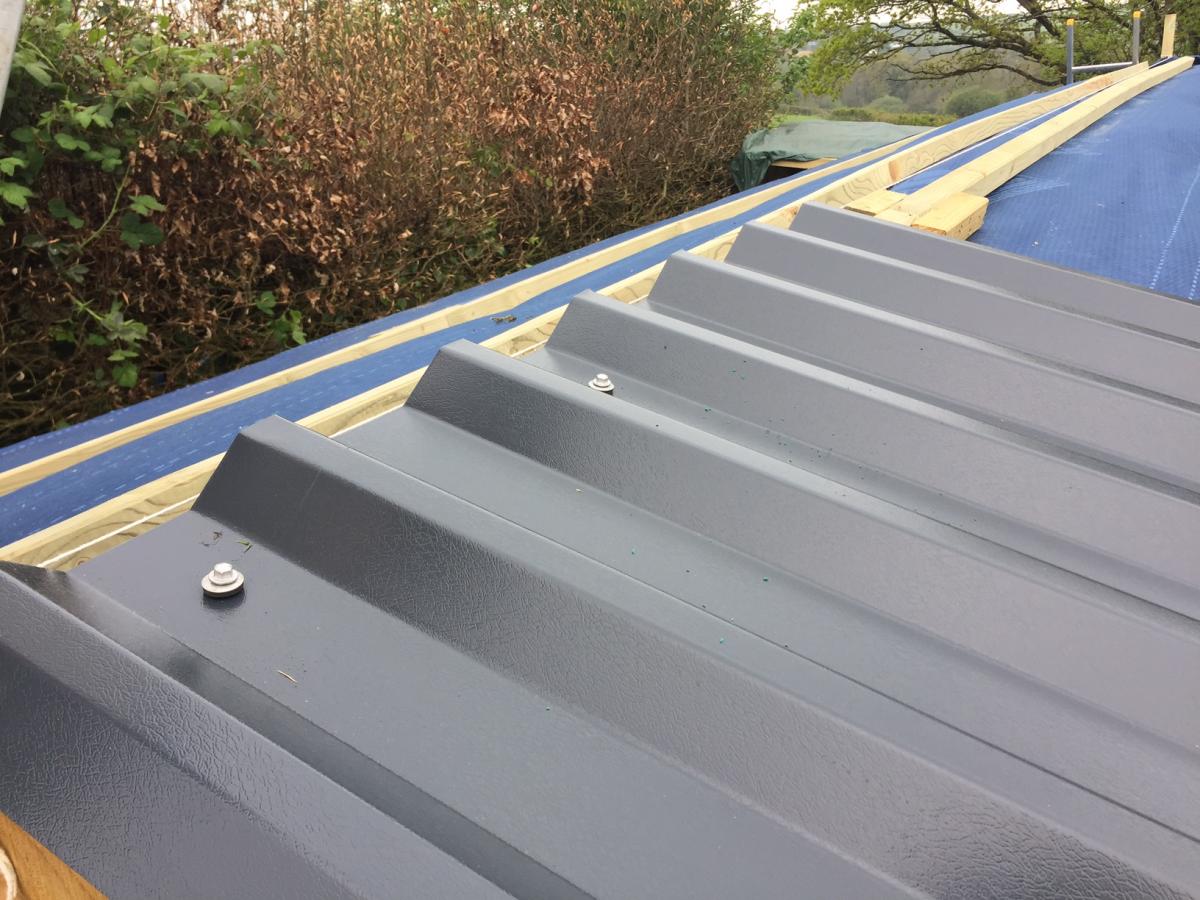
Once my materials and fixings had arrived I cracked ahead with the installation process. This was surprisingly simple. I laid my first sheet onto the roof, fixed this down through the flat section of the sheet straight into my timber purlins below.
I used four fixings across the sheet at the top, middle and bottom so 12 in total per sheet. I would then continue this process of fixing as I went along. Where each sheet would lap the next I ran some mastic lapping tape down the length of each sheet, this helped seal the joins and overlap (which would be just the one rib or “profile”). Stitcher screws were also used to stitch where the sheets were lapped, belt and braces!
Once each sheet was lapped and secured I began laying and fastening the ridge capping, these simply sat over the sheeting and were fixed using the stitcher screws, through the ridge cap and into the high ribbed part of the sheeting. (I fixed these every 300-400mm as per recommendation and overlapped my two ridge flashings by 200mm).
The foam fillers were then placed between the ridge and sheets, I used a small amount of silicone to help hold these in place. The barge capping followed the same fixing process as the ridge, using the stitcher screws again to fix these in place. My eaves fillers were then slid underneath my sheets at the bottom (above the gutter line), silicone was used once more to help hold these in place.
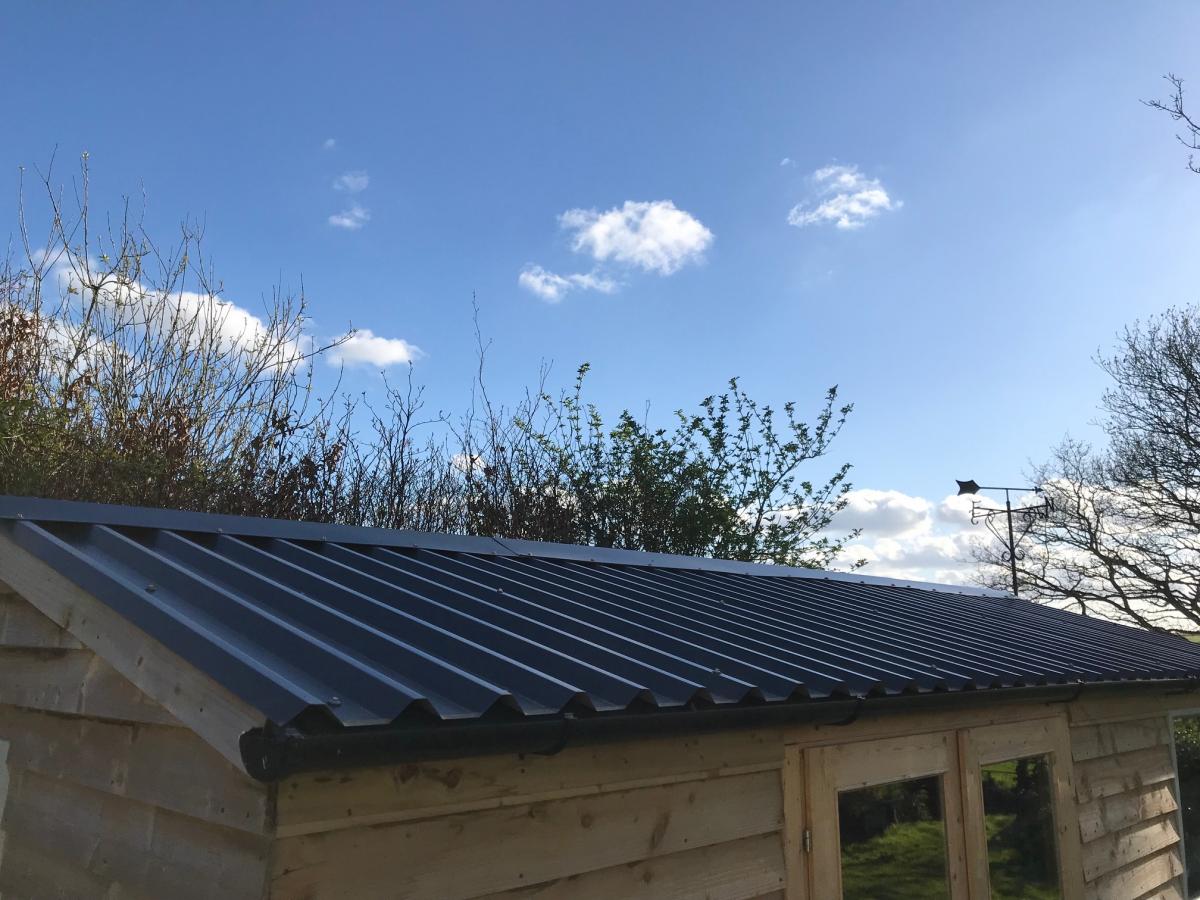
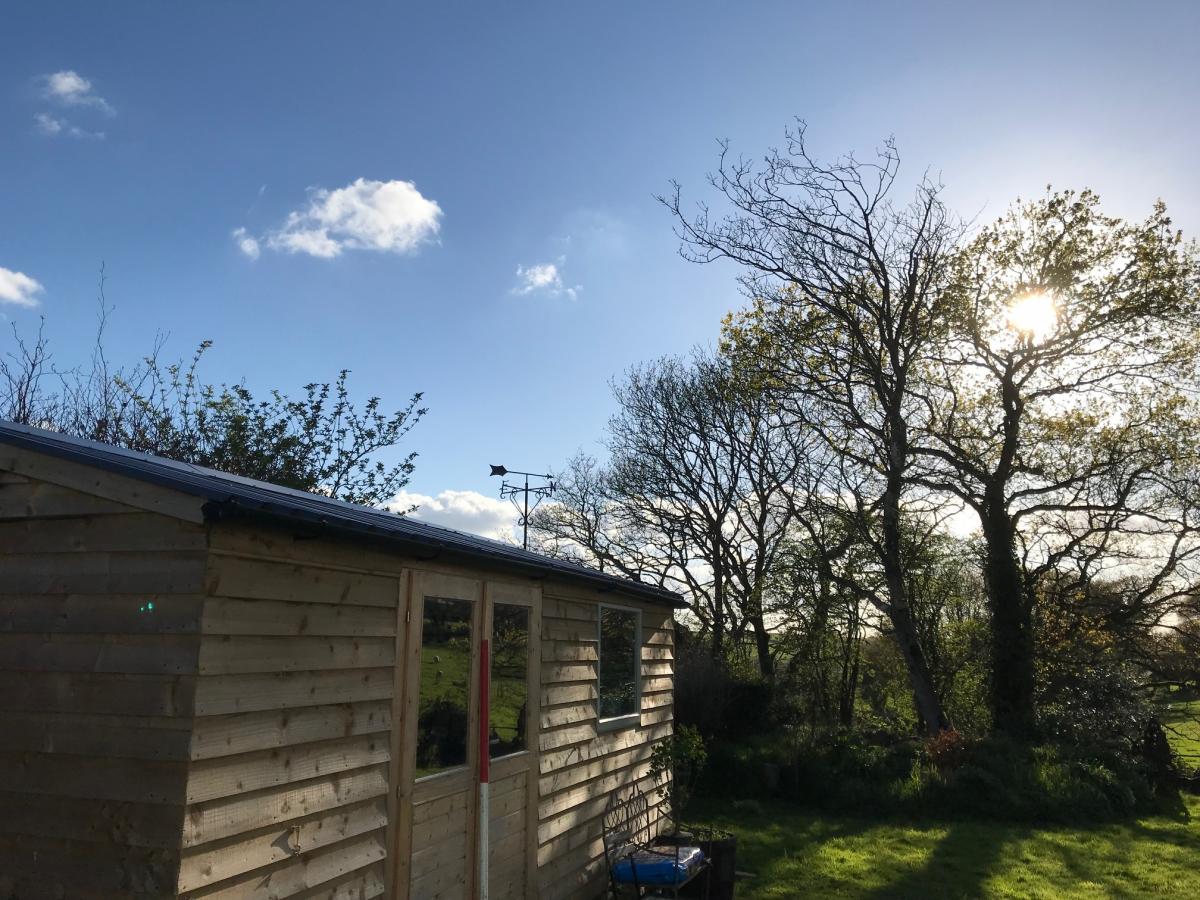
All in all this was a very straight forward process which surprised me a little and I couldn’t be happier with how my shed roof now looks.
This blog post was kindly supplied for Cladco Profiles.
For information on how to fit your new roof or for any assistance with your order, please call our friendly sales team on 01837 659901.